Modpack Installation
-
Open the CurseForge App and select Minecraft. In the top search bar, search for
WOA.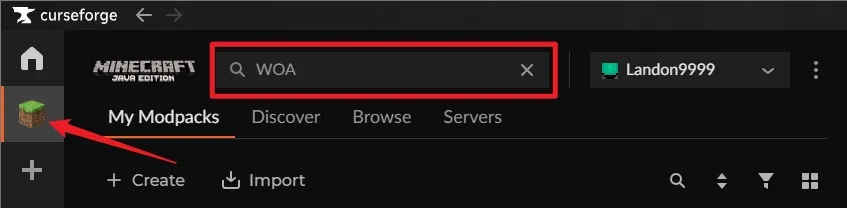
-
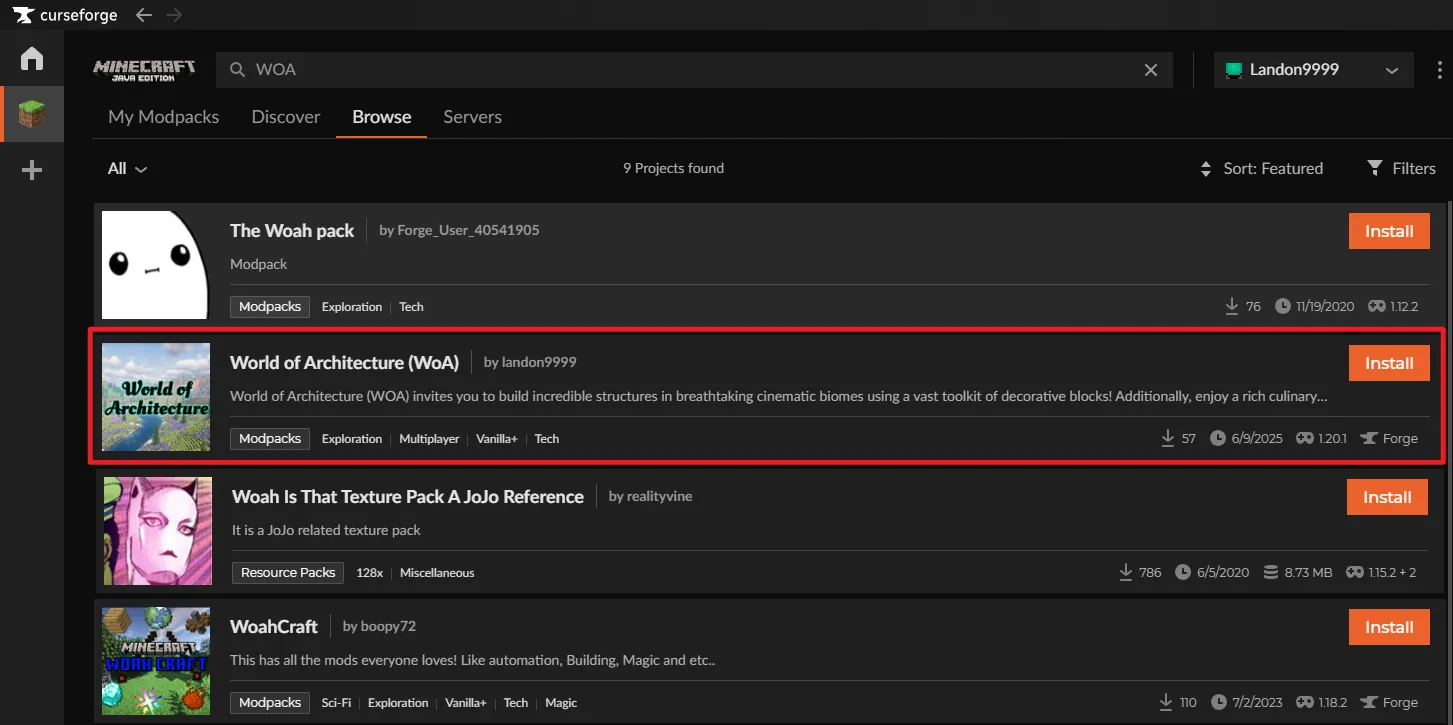
Find the modpack in the “Browse Modpacks” results. It should match the highlighted result below. Click the Install button.
-
Wait for the download to complete. Once finished, the “Install” button will change to a Play button.
-
Click Play to launch the pack! Your new instance will be saved under “My Modpacks”.
-
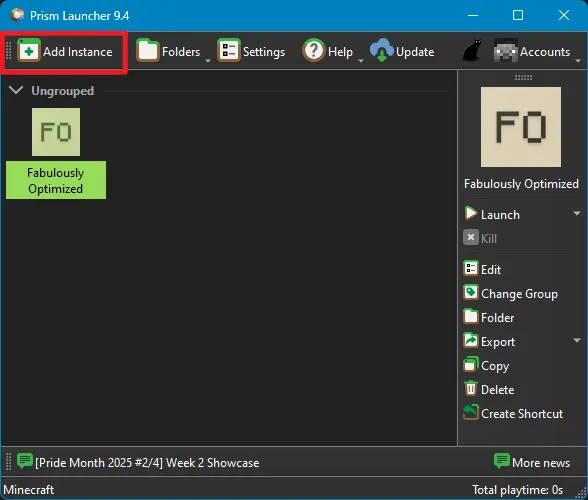
In the main Prism Launcher window, click the Add Instance button in the top-left corner.
-
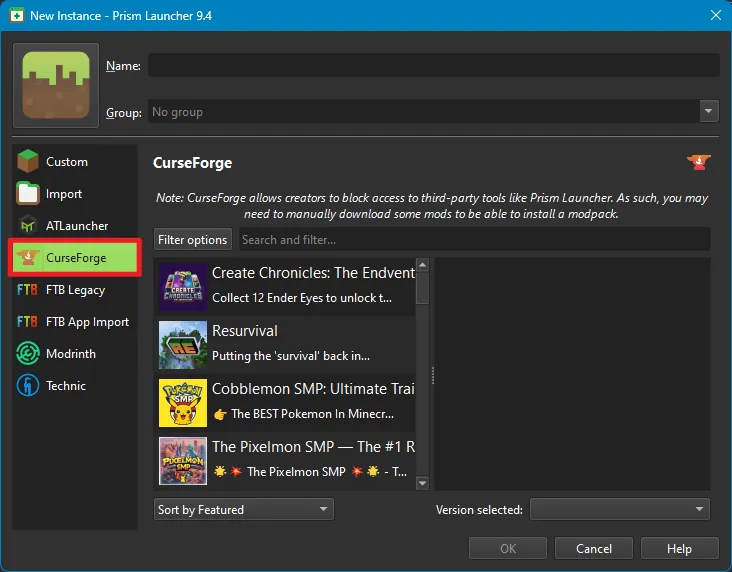
A new window will open. On the left side, select CurseForge.
-
Use the search bar to find
WOA. Select the modpack from the list and click OK in the bottom-right corner.
-
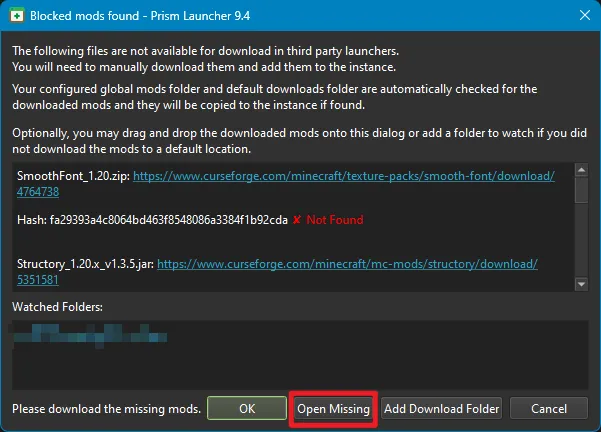
Prism will now show a list of mods it cannot download automatically due to CurseForge’s policies. Click the Download All button to open the necessary mod pages in your browser. Save these files to your computer’s “Downloads” folder.
-
Once you have downloaded all the required files, return to Prism Launcher and click OK to continue the installation.
-
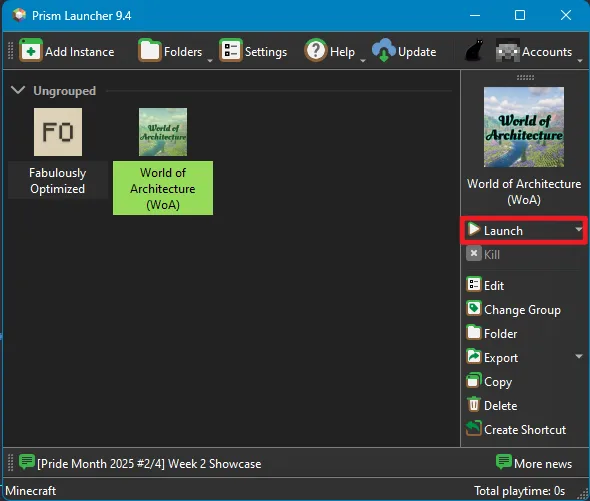
Wait for the installation to complete. Once finished, you can select the modpack and click Launch!
-
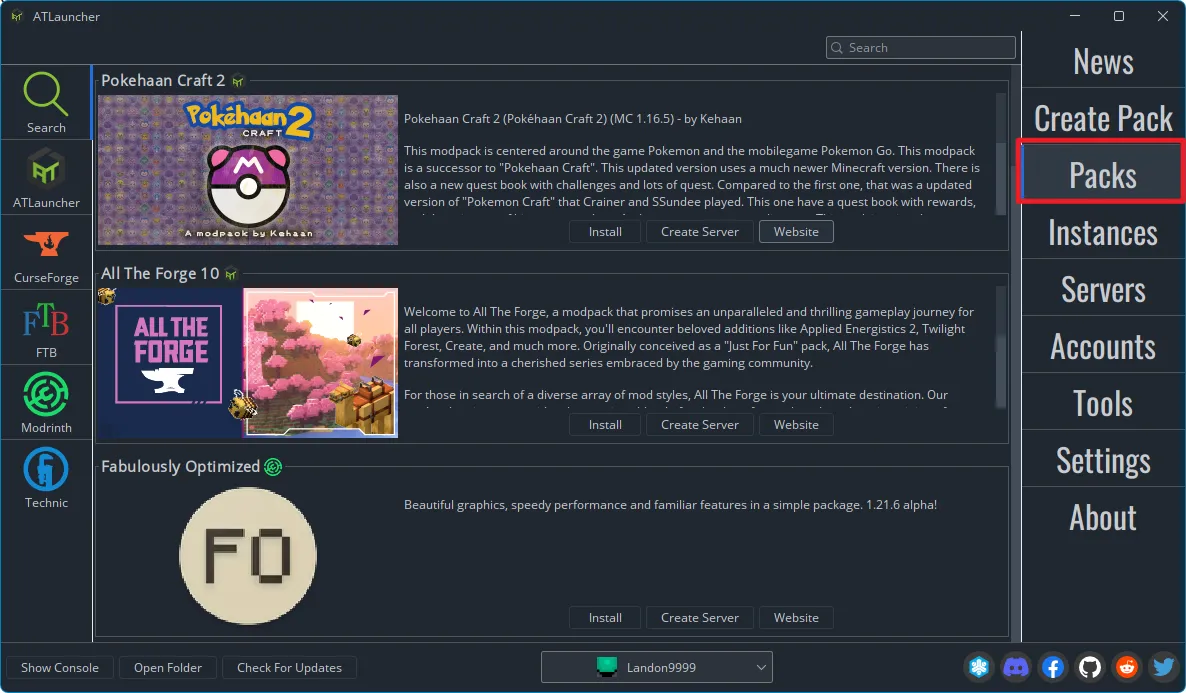
Open ATLauncher and navigate to the Packs tab from the menu on the right.
-
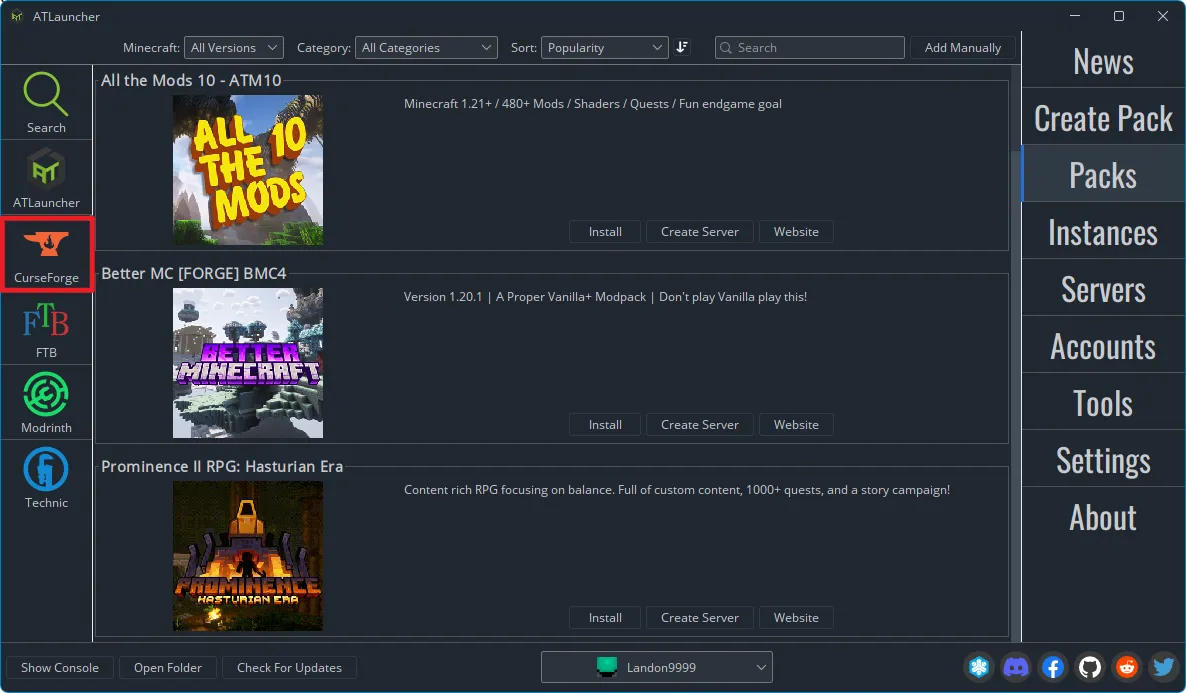
At the top of the list, select the CurseForge tab.
-
Use the search bar to find
WOA.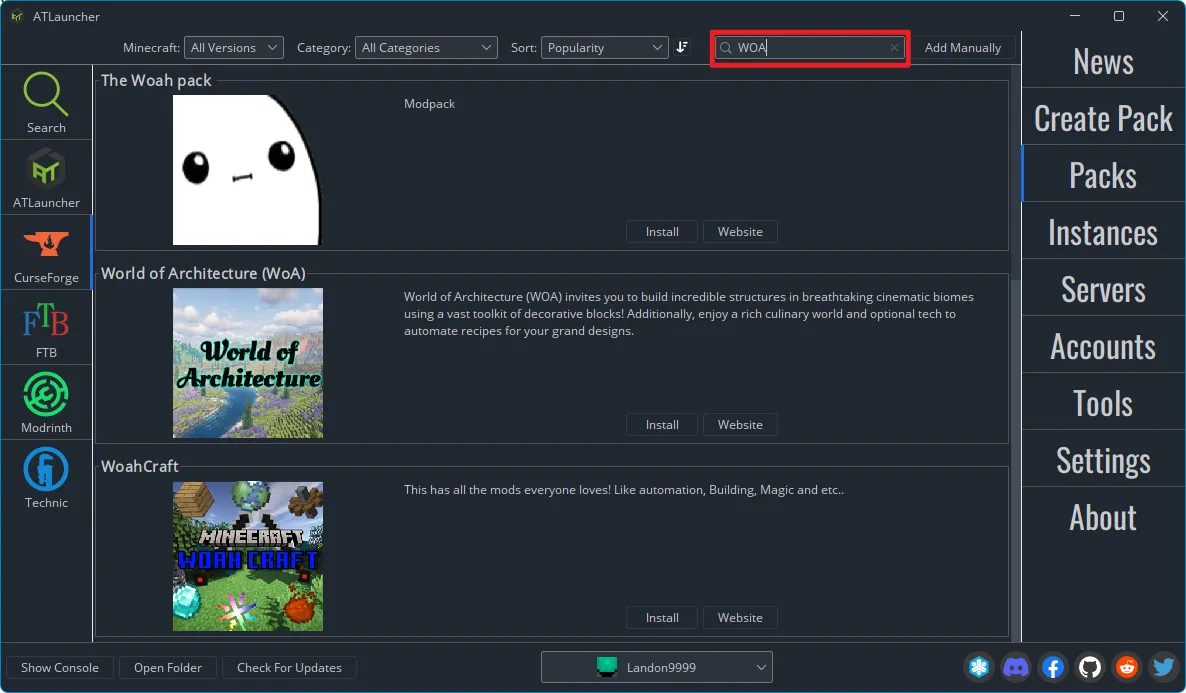
-
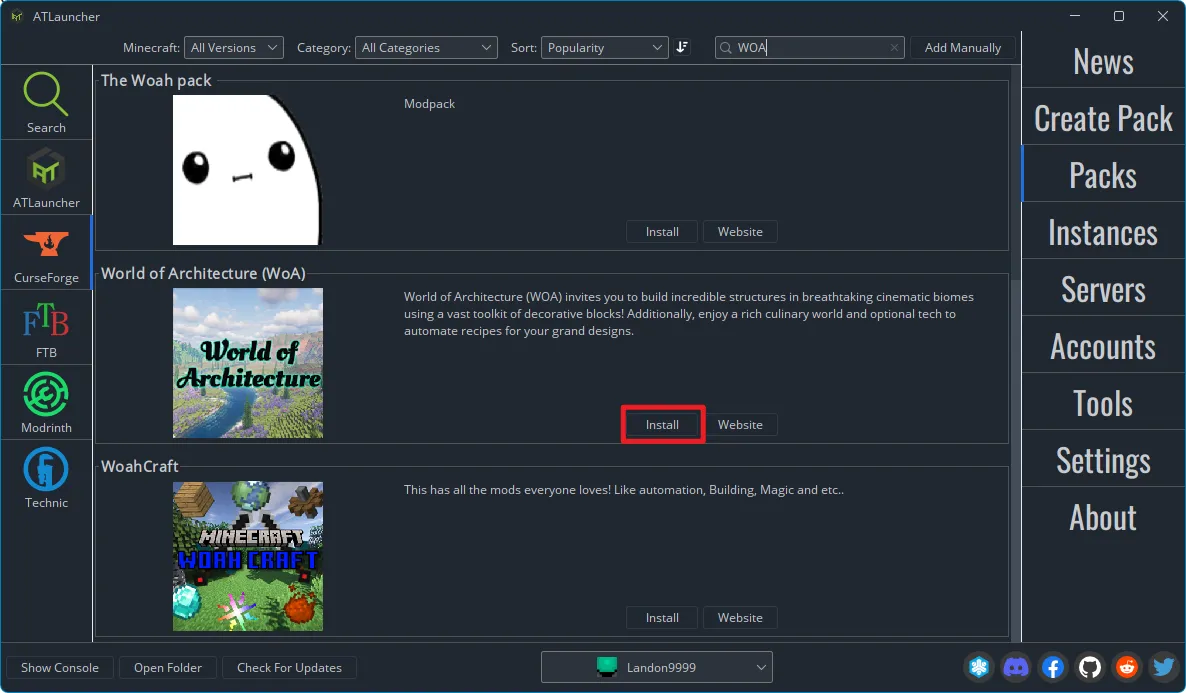
Click on the pack to view its page, then click the New Instance button.
-
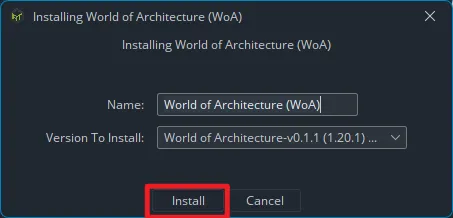
ATLauncher will prompt you to confirm the version. Click Install.
-
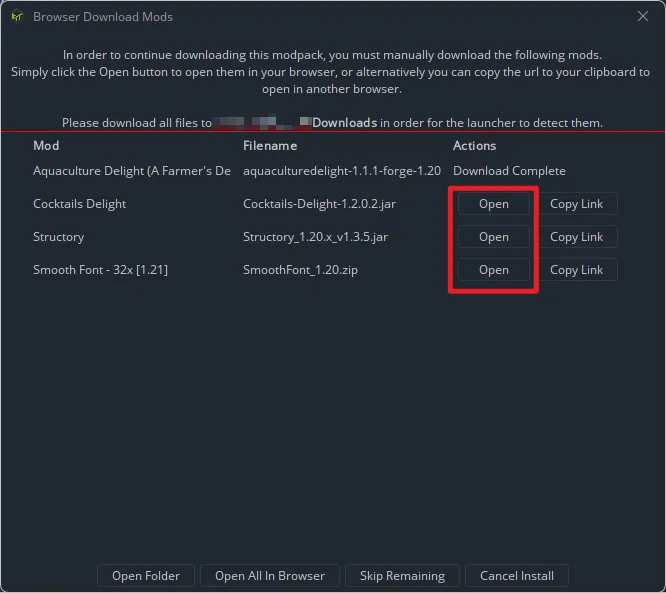
ATLauncher will show a dialog with links to mods it cannot download automatically. Click each link, download the file, and place it in your computer’s “Downloads” folder.
-
Once the installation is complete, go to the Instances tab. You will find your new pack there, ready to Play.
-
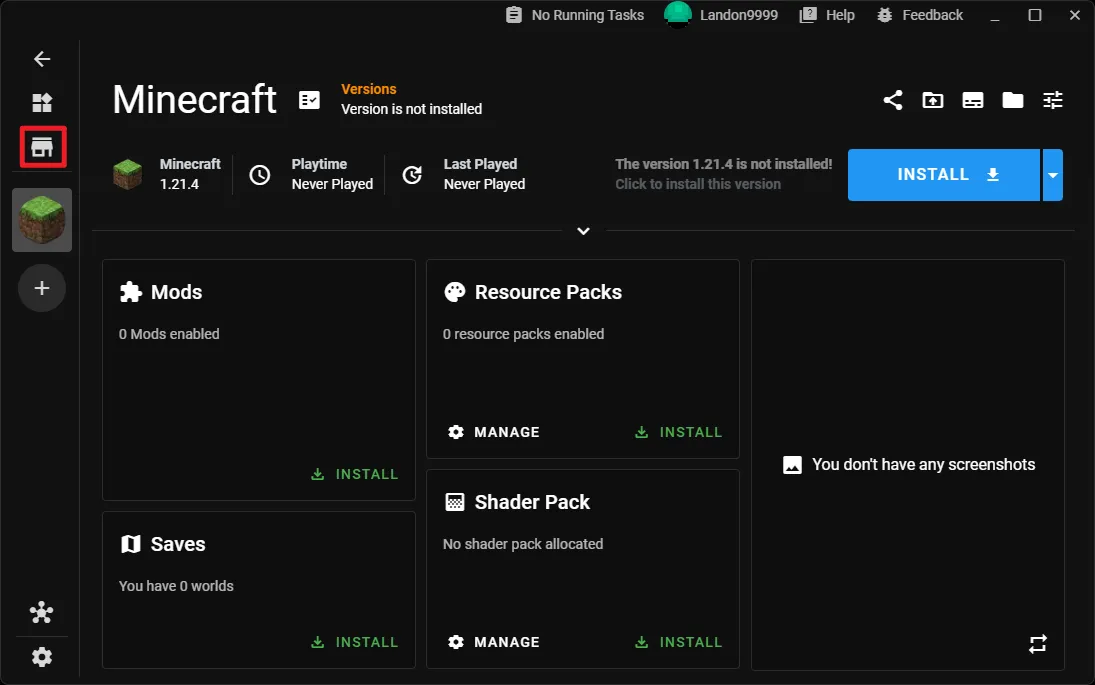
From the main launcher window, click the large storefront button in the top left to browse the modpack catalog.
-
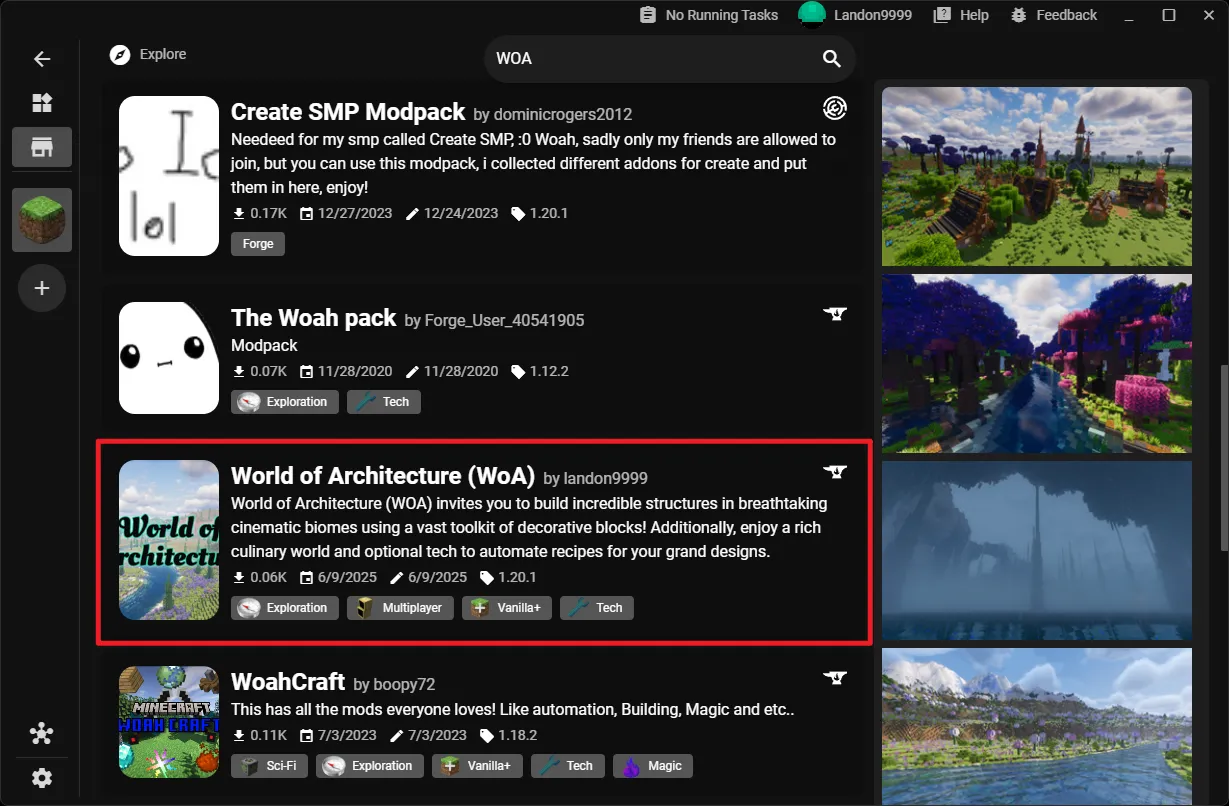
Using the search bar at the top, search for
WOA.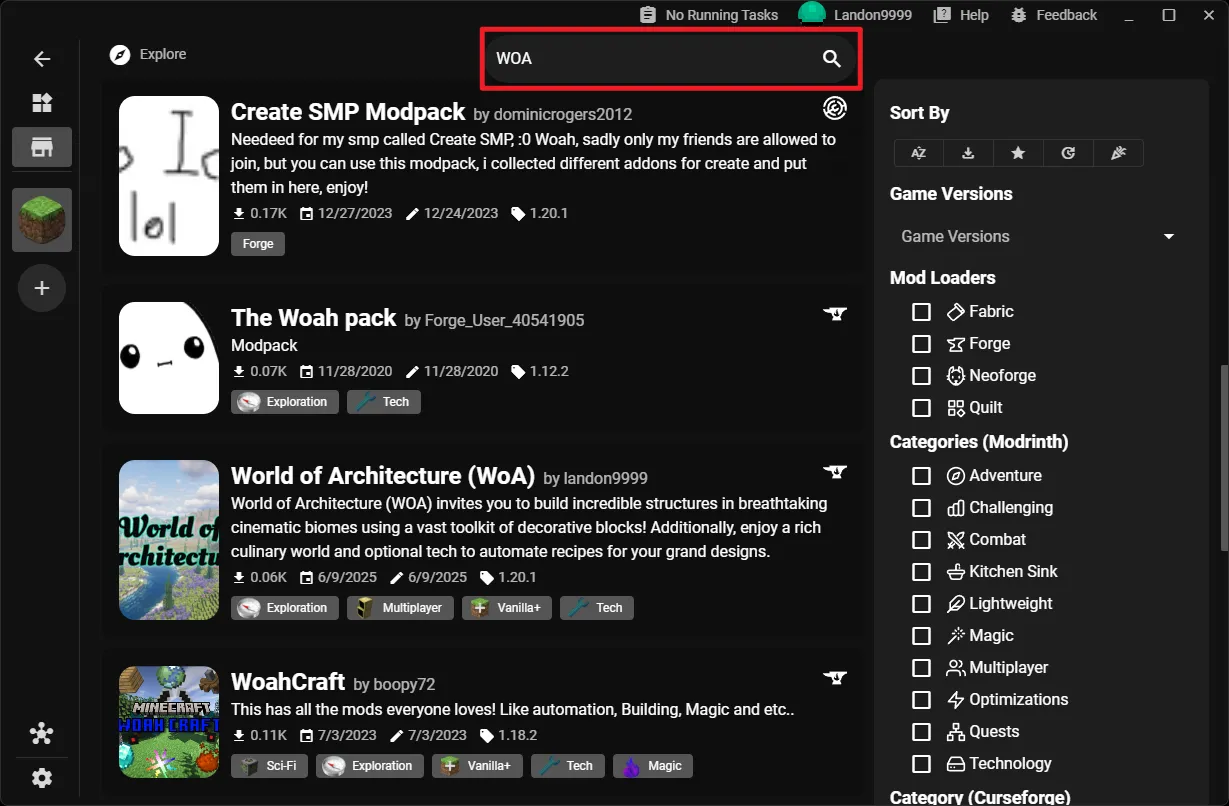
-
Select the modpack from the listing.
-
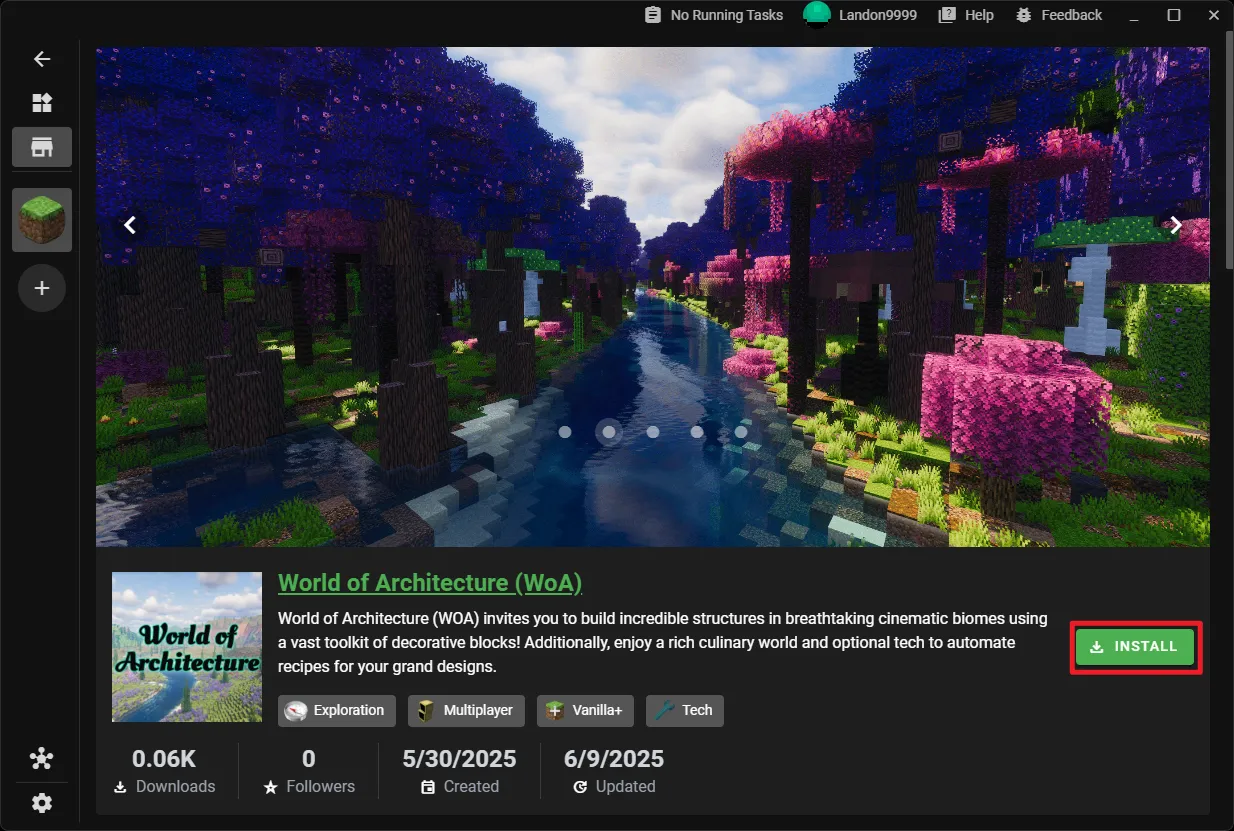
On the modpack page, click on the Install button.
-
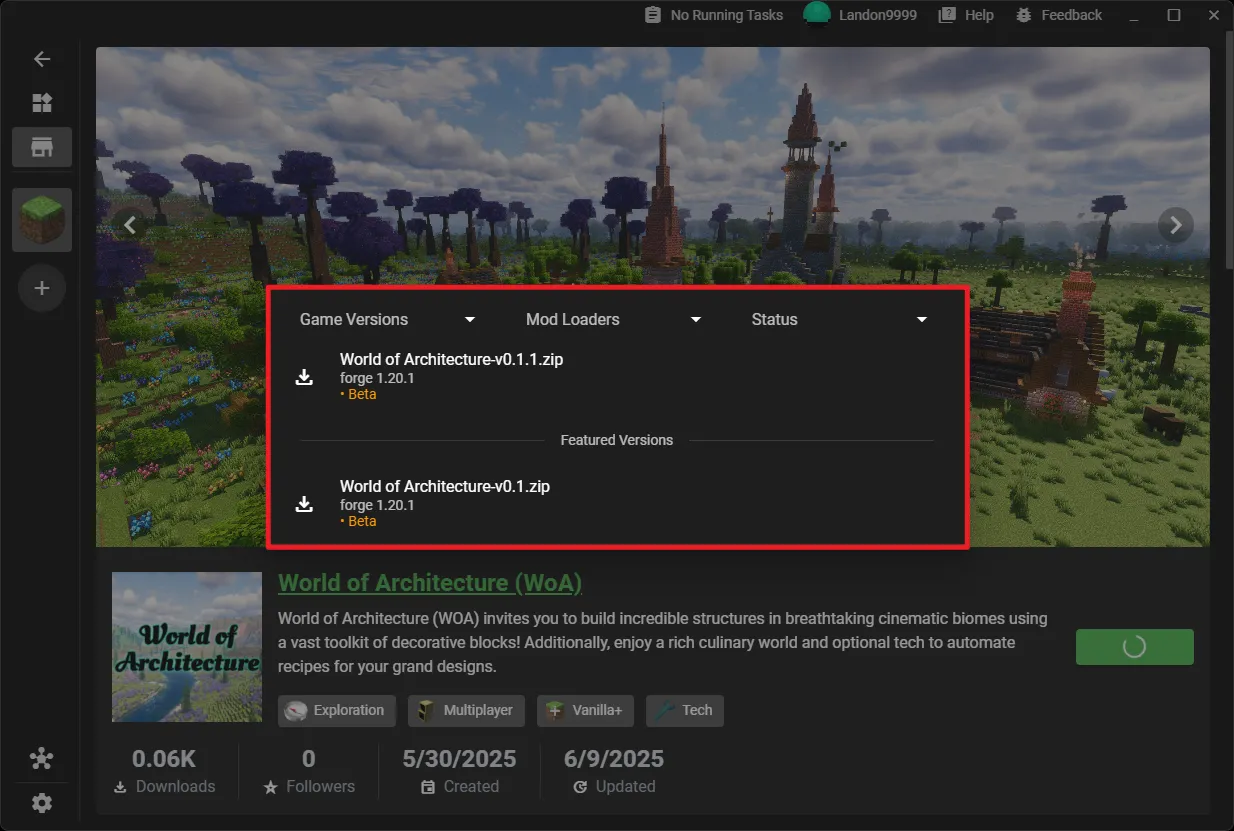
Select the newest version from the listings.
-
XMCL will handle the entire download and installation process. Once it’s done, the new instance will appear in your profiles list. Select Launch to get started!
- Official Minecraft Launcher
- Does not support automatic modpack installation or updates.
- Modrinth
- It is possible to import the modpack here but updates are not supported. I also cannot host the modpack on Modrinth due to rights.
- MultiMC
- Outdated launcher, use one of the supported launchers as they are more updated.
- GDLauncher & Badlion
- Has many issues and will not be supported by us.
- Lunar Client
- Does not support Forge.
- PolyMC
- Not recommended due to previous issues with development/ownership.
- Cracked Launchers (TLauncher, SKLauncher, etc.)
- These launchers violate the Minecraft EULA and are a potential or known security risk. They do not properly support the modding ecosystem, and we offer no support for them under any circumstances.